Stop the Chip-out: Why Preheating Your Glass Actually Works
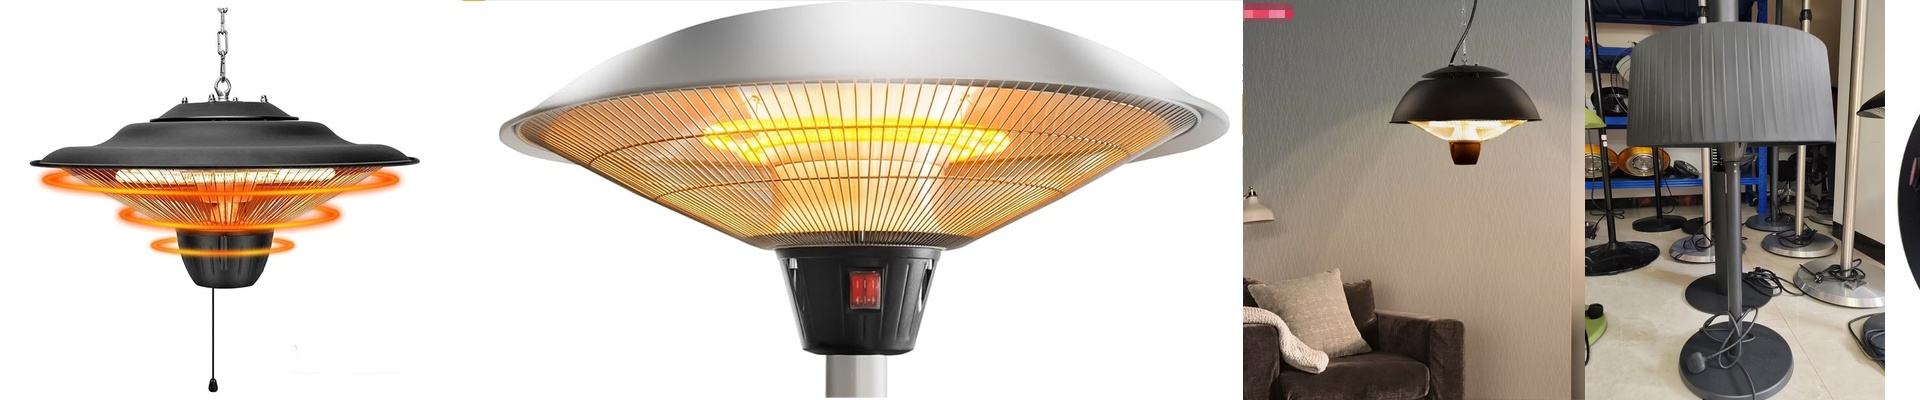
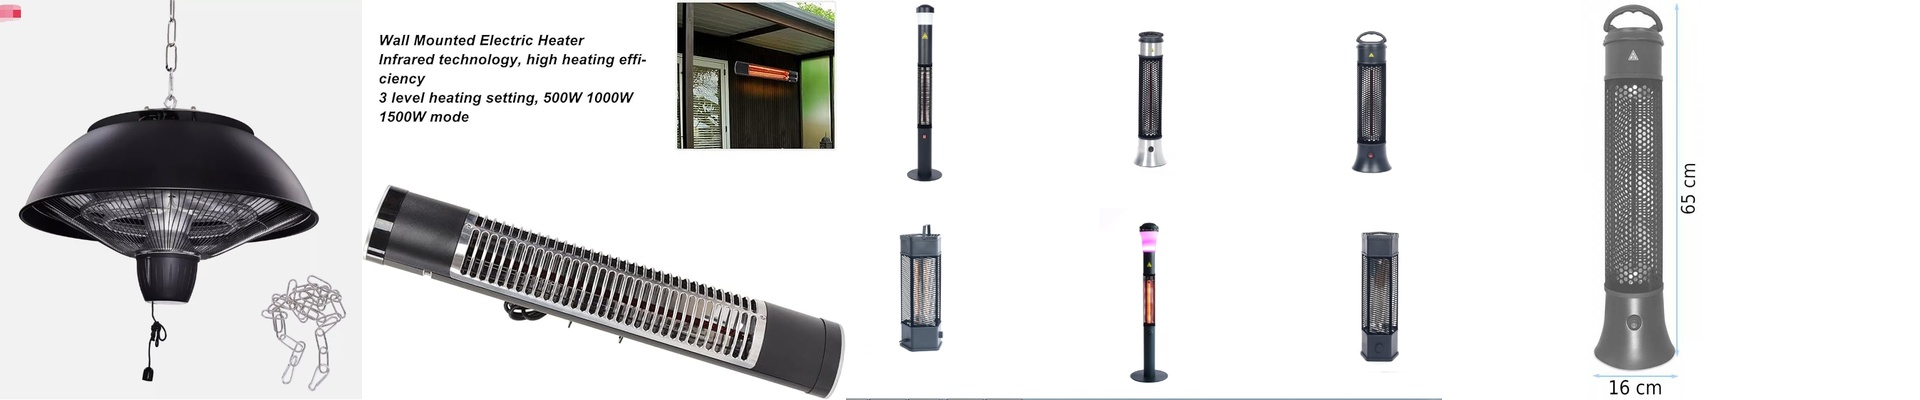
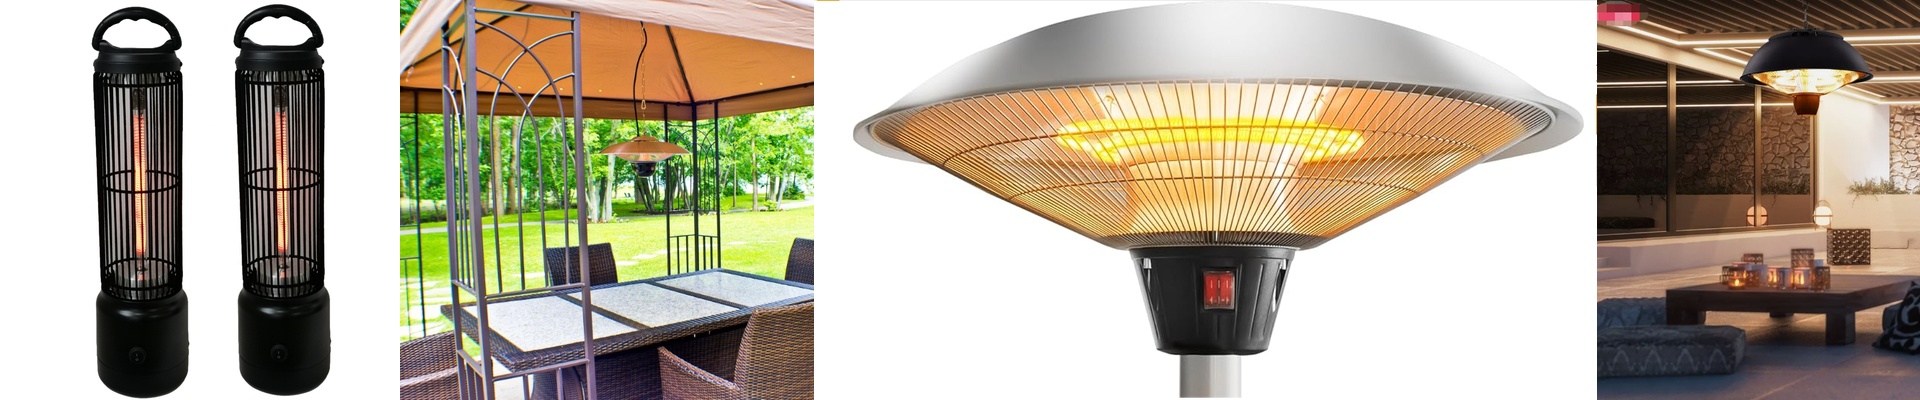
Ever tried cutting a piece of cold glass and ended up with those annoying, jagged little flakes on the edge? We call it “chip-out,” and it’s a nightmare. Here is why it happens: when you score cold glass, you’re creating tiny micro-cracks. If the material is too chilled, those cracks don’t follow the line. They jump. They wander. And when you finally go for the break, you get a messy edge instead of a crisp line. To fix this, we use fast-response infrared radiators to warm the glass right before the cut. It just stabilizes everything. The secret is in the heat Think of it as softening the blow. Infrared waves dive into the glass and get the molecules moving. This makes the glass a bit less brittle and way more cooperative. When the surface is warm, the score line breaks exactly where you want it to. No surprises. No flaking. Just a clean, satisfying snap. Getting the gear right You can’t just use any old heater here. You need short-wave infrared lamps. Long-wave heaters are too slow—they spend more time warming up the air in the room than they do warming the glass. We usually go with high-watt density quartz tubes. They hit the glass instantly as it slides down the conveyor. But here is a pro tip:**match your lamp length to your glass width.**If you’re running a 1000mm sheet, don’t try to cheat it with two 300mm lamps. You’ll end up with cold spots, which causes uneven expansion. That’s a great way to actually crack your glass instead of cutting it. A couple of things to watch out for This setup is powerful, but it’s hungry. Those high-wattage tubes pull a lot of current. Make sure your wiring can handle it, or you’ll deal with voltage drops that mess with your consistency. Also, don’t go overboard with the heat. If the glass gets too hot, it starts to bow. It’s all about finding that sweet spot—balancing the heat intensity with your line speed. Once you nail it, the chip-out disappears and your glass stays perfectly flat.